Combat Basics in Marie's Adventure
Dynamic turn-based battles, survival priorities, and why losing still costs you time.
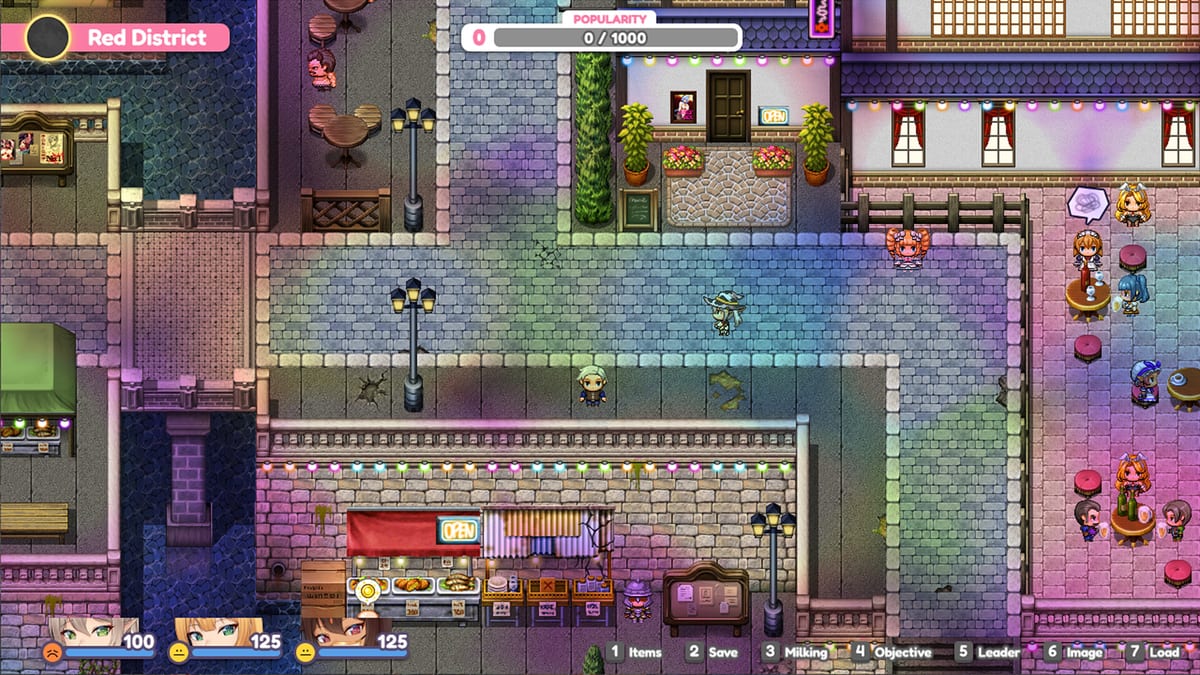
Combat in Marie’s Adventure is a dynamic turn-based RPG system — not action combat, not pure menu-only slugfests. No Budget Developer built encounters that feel classic yet responsive: you read enemy intent, choose skills, and adapt as demon pressure escalates across the story. Because pregnancy percentage advances through walking and active play, every dungeon run is also a gestation timer. Understanding combat basics keeps you from wiping away progress you already earned on the overworld.
This page covers turn structure, party roles, and practical survival habits. Pair it with Party Progression once births start raising your stat ceiling.
How a battle starts
Random encounters and scripted boss fights share the same UI shell. When combat begins, the customized battle interface shows party HP, skill lists, and turn indicators. Characters act in turn order determined by the engine — speed stats and skills can shift who moves when, so do not assume Marie always goes first.
Your menu typically offers:
- Attack / skills — Character-specific abilities that scale with level and story progression.
- Guard or support options — Where available, reducing damage or recovering HP between enemy phases.
- Items — Consumables bought in Sylva City or found in dungeons; stock healing before long chains.
- Escape — Sometimes available on trash mobs; boss fights lock you in.
Losing a fight sends you back to a checkpoint or last save depending on context. There is no permadeath, but time lost is pregnancy time lost if you spent an hour dungeon crawling without saving near a favorable conception roll.
Dynamic turn-based — what that means here
Steam marketing calls the system “dynamic turn-based.” In practice:
- Enemies telegraph patterns — Some demons repeat cycles; learn which turns they buff or hit hardest.
- Skill choice matters more than auto-battle — Early game allows mindless attacking; mid-story spikes punish lazy routing.
- Status and burst windows — Debuff vulnerable foes before unloading party combos; birth power-ups from Party Progression widen those windows later.
- Preparation beats improvisation — Buy potions in town, save before bosses, and return to Sylva when someone nears 100% pregnancy instead of pushing one more floor.
This is not a tactics grid with free movement. Positioning flavor appears in animations and some skills, but decision depth lives in when you heal, who you focus, and whether you spend turns setting up births-powered stat spikes before the next chapter gate.
Party composition basics
Marie is always your narrative anchor. Elucia and Ran join across story chapters — see Companions for unlock timing. Until the full trio is available, combat is effectively solo or duo with guest support.
General roles:
- Marie — Balanced lead; fertility blessing makes her the default pregnancy carrier early. Details in Marie.
- Elucia — Frontline pressure with restrained personality in story scenes; brothel and pregnancy rules mirror Marie mechanically.
- Ran — Joins later; community notes her as a sharper, more dominant presence once Chapter 2 content opens.
You do not build separate talent trees per character in a MMO sense. Power comes from levels, story flags, equipment, and birth power-ups after deliveries at Sylva City Inn.
Healing and resource discipline
Gold is finite at launch. Potions are cheaper than wipes that force you to replay dungeon segments without advancing pregnancy.
Recommended habits:
- Heal at 70–80% HP on unknown bosses, not at 10%.
- Save immediately before multi-phase fights.
- Retreat to town when two characters dip below half — births cannot help if you never reach 100%.
- Brothel income from the Brothel Guide funds consumables; balance shifts against exploration ticks.
Artifacts from Artifacts may add passive combat bonuses, but only one artifact equips at a time in current builds. Plan swaps around pregnancy goals, not every fight.
Combat and pregnancy — shared clock
Fights do not advance pregnancy while menus are open, but steps after combat do. Players who grind arenas without walking wonder why gestation stalls — the fix is always more overworld movement, documented in Pregnancy System.
Routing example for a first boss:
- Conceive or accept story pregnancy when ready.
- Farm a safe dungeon floor for XP while walking ticks percentage upward.
- Save before the boss; use Combat Basics healing discipline.
- After victory, walk town loops if close to 100%, then sleep at Sylva City Inn only to birth and trigger power-ups.
Use the Pregnancy Tracker if you are also rolling for multiples via milk capacity.
Stamina, EXP locks, and #### displays
Patch Note v1.0e adjusted Combat EXP so gains are reduced by half after all Stamina has been exhausted. That matches launch-week community reports of stalled bars / #### displays when grinding at zero stamina. Rest first, then fight again before assuming a hard story level cap.
Patch Note v1.0f adds a Stuffed condition effect that prevents Stamina recovery from eating food and reduces Intoxicated chance. Do not plan potion-food stamina loops while Stuffed. The same patch blocks Belly Slap when stamina is insufficient.
v1.0e also increased the Talent acquisition rate — useful for long combat routes after you stop starving stamina.
v1.0g adds a post-battle EXP log showing how much each girl gained, plus a working Killswipe (it did not function properly before that letter). If every enemy shows 1 HP after you ported an old save, that is the Demonology Rewrite bug — update to 1.0g (Known Issues). Heal-race bosses like Hellebore need that Killswipe fix before you treat the skill as a plan.
Launch-week players also report Marie stuck near level 9 with next-EXP shown as ####, while desert Ran appears already higher level. Rest, restore stamina, then re-check whether the EXP bar moves before assuming a hard story level cap.
Also verify Vitality 3 Chroma on v1.0c+ — older builds granted wrong stats (Chroma). Mid-game walls like Remuru, Festival Rival (retuned in v1.0c and v1.0e), and Volkard (reworked in v1.0f) punish thin stamina/Chroma more than thin pregnancy knowledge (Difficulty Settings, Volkard).
Common mistakes
- Auto-battling through new enemy types — Patterns change chapter to chapter.
- Skipping shops — Underpotting is the fastest way to lose a birth window to wipes.
- Fighting at 100% pregnancy far from Sylva — Combat still works, but you risk story pacing issues; plan Inn returns via Sylva City.
- Ignoring birth power-ups — If deliveries feel optional, revisit Party Progression; the demon army scales assuming you deliver on schedule.
- Grinding at zero stamina — EXP may stall; rest first.
Where to go next
- Party Progression — Birth spikes and ally scaling.
- Chroma Vitality — Correct Vitality 3 numbers on 1.0c.
- Build Hub — Full build category overview.
- Fertility Boosts — Church stats before conception rolls.
- Getting Started — Day-one routing if combat feels fine but pregnancy UI confuses you.
Dynamic turn-based combat in Marie’s Adventure rewards calm reads and town prep more than button mashing. Save often, heal early, and treat every dungeon as part of a pregnancy route — not an isolated arena.
Frequently Asked Questions
Quick answers to the most common questions.
Why did my EXP stop updating (####)?
On v1.0e+, Combat EXP is halved after stamina is exhausted. Rest and restore stamina, then fight again before assuming a hard level lock.
Is Marie's Adventure combat real-time or turn-based?
Turn-based. You pick skills each turn in a dynamic RPG battle system with enemy patterns and a customized UI — not action combat.
Does fighting advance pregnancy percentage?
Not during menus, but walking and exploring after fights does. Sleeping alone never ticks gestation forward.
Why does food not restore stamina?
If you are Stuffed, v1.0f prevents stamina recovery from eating food. Clear Stuffed before relying on snacks.
Where should I go after learning combat basics?
Read Party Progression for birth power-ups, Chroma for vitality tiers, and Difficulty Settings / Volkard for mid-game walls.